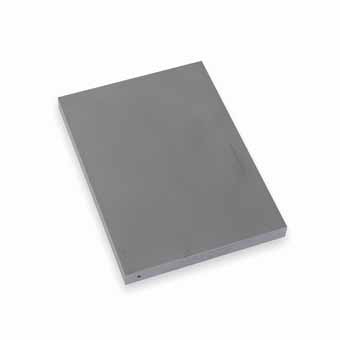
PH Tool ASME Sec V Basic Calibration Block

The PH Tool ASME Sec V Basic Calibration Block is used for establishment of primary reference responses for UT examination of welds. The block contains three side-drilled holes at 1.5″ deep minimum at diameters between 3/32” and ¼” depending on the block thickness (T). Hole locations through the thickness are ¼, ½, and ¾T. Also contains two notches measuring 2%T deep x 1.0″ long minimum. In accordance with ASME Section, V Article 4, Figure T-434.2.1.

Available in steel, stainless steel and special alloy. Older version to ASME Section V, Article 5, Figure T-542.2.1 is also available upon special request.

Contact us for pricing and to place your order.

Description

Standard test blocks are non-representative tools, meaning that they are not manufactured from actual parts. Rather, they are a simplified design that contains manufactured discontinuities such as holes, angles, radii and more. Standard test blocks serve the purpose of standardizing and calibrating test equipment to ensure it is functioning properly.

All test blocks ship with a NIST-traceable certification report stating that the block meets applicable specifications.

Optional fitted, wooden storage case also available.

Reviews

There are no reviews yet.

Only logged in customers who have purchased this product may leave a review.

You may also like…