Exposure Measurement Reference Ball

CAD $94.99CAD $199.99

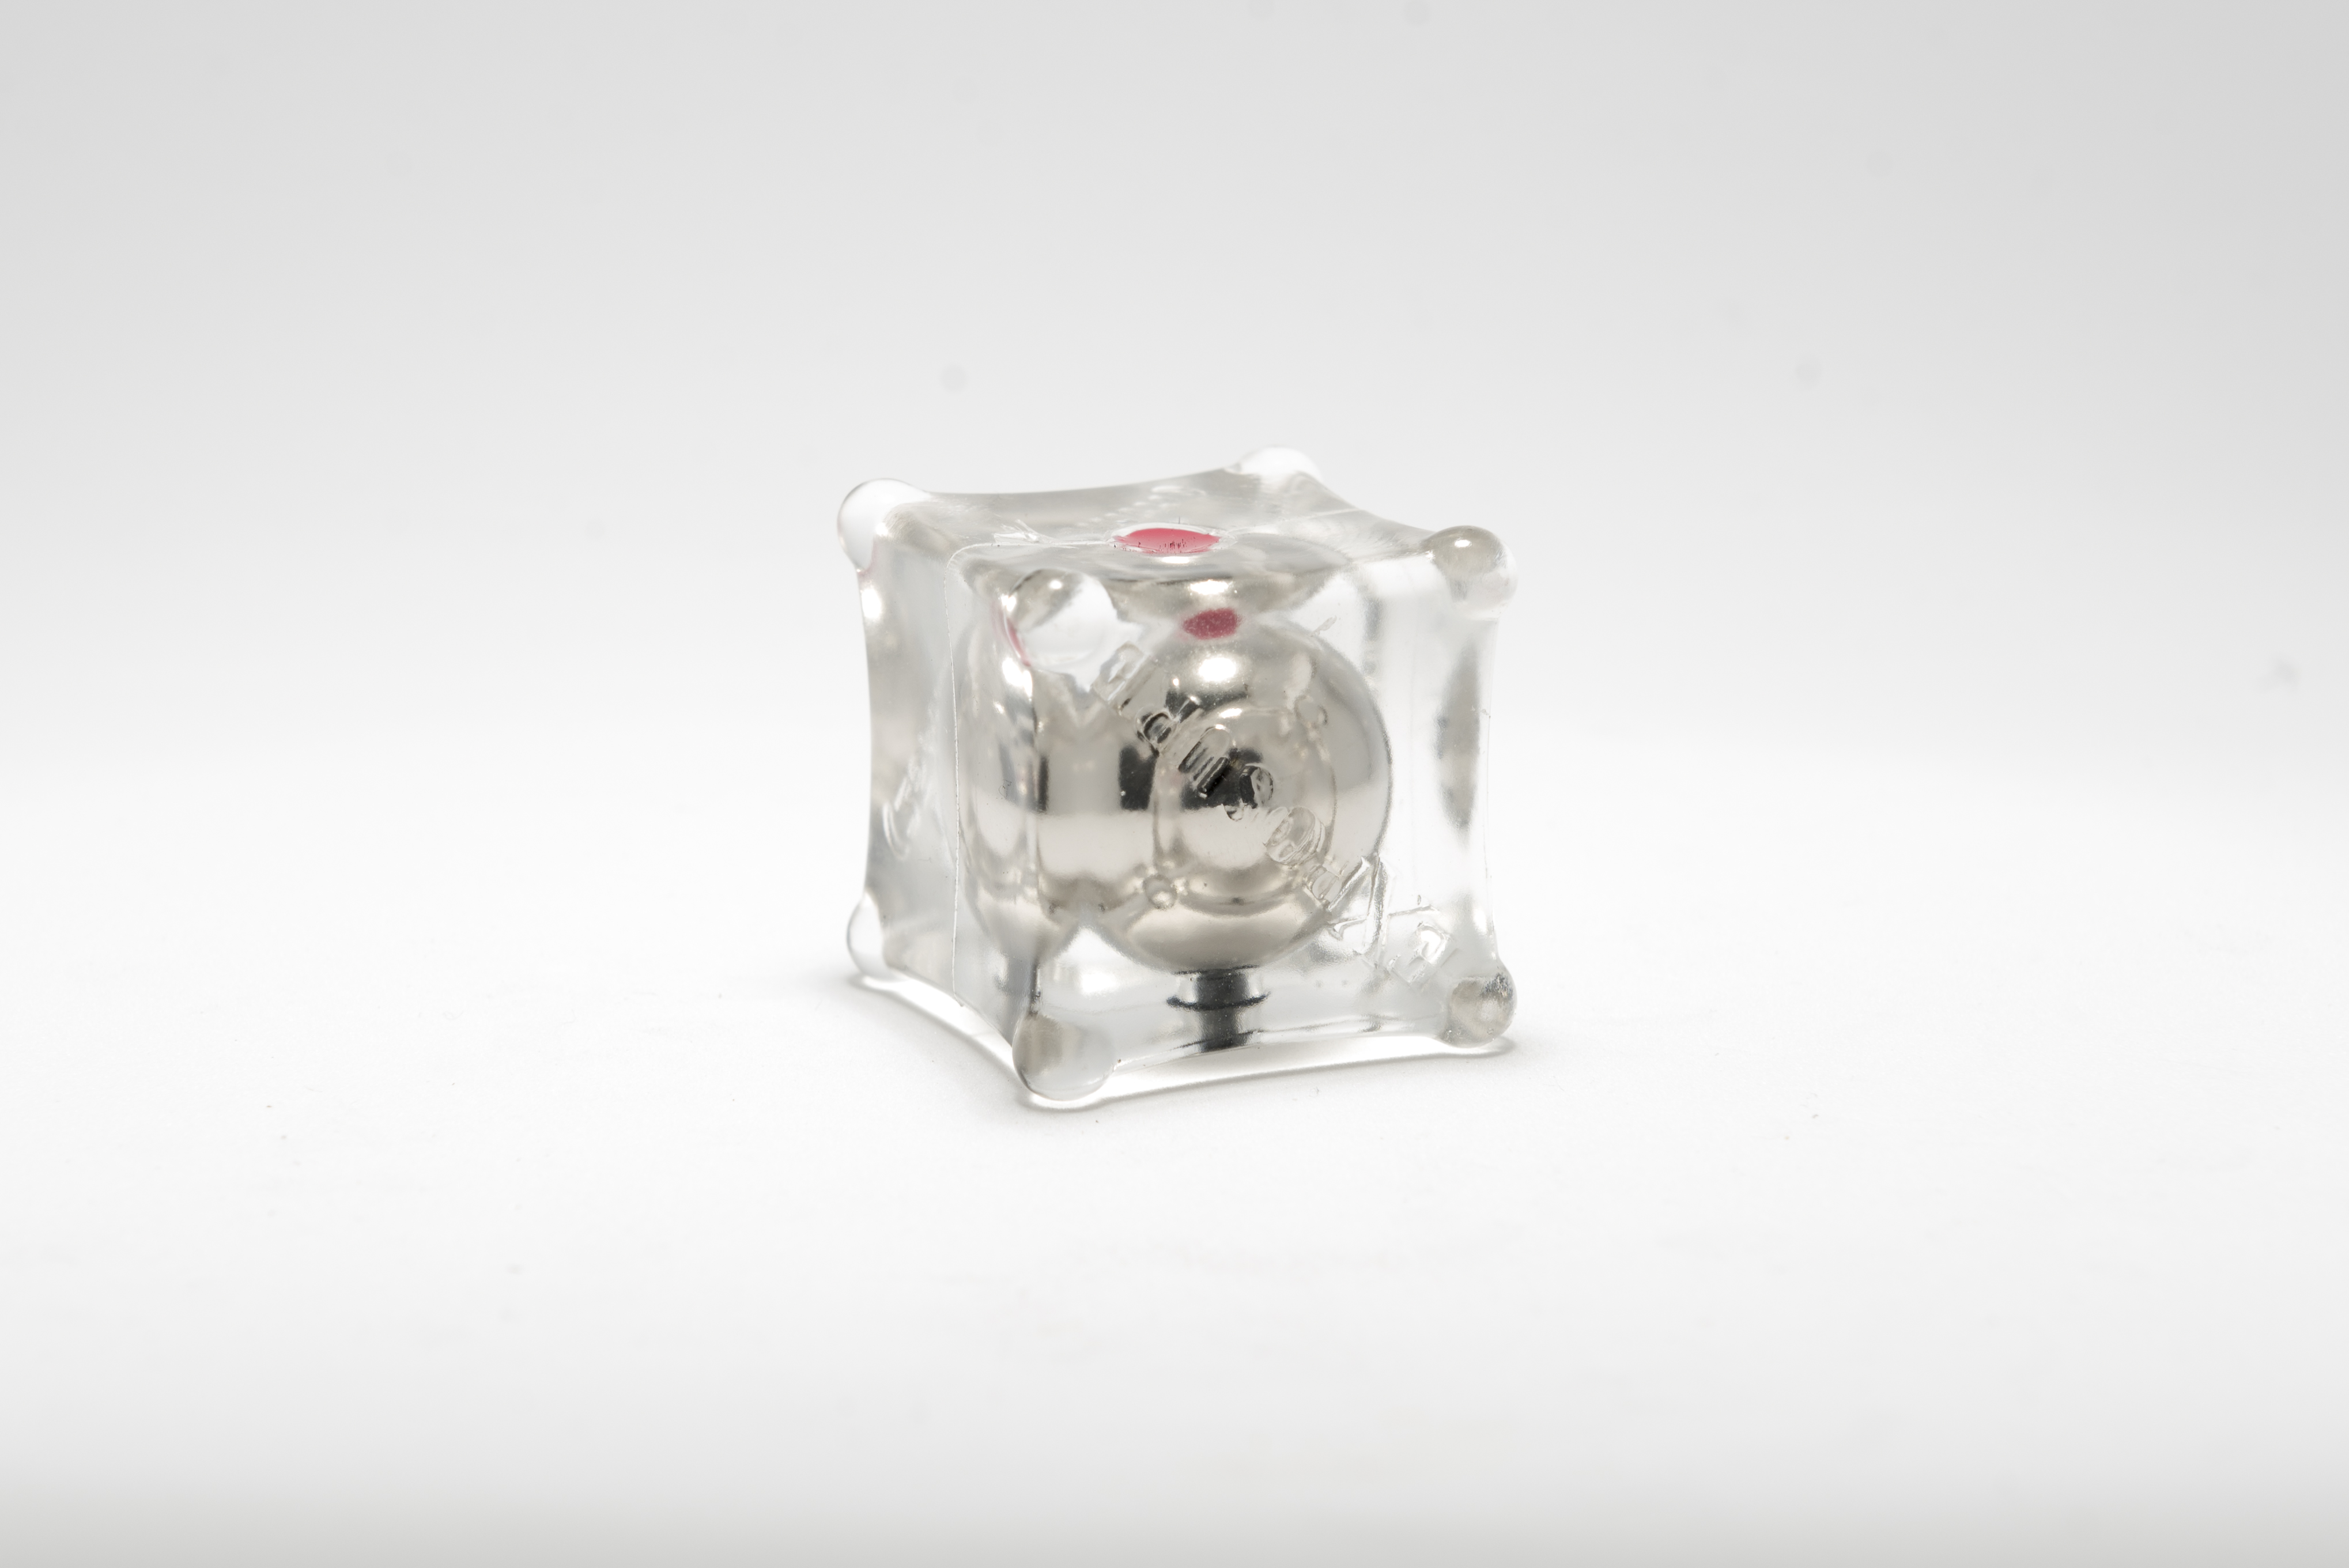
The 1″ Exposure measurement reference balls attach to any ferromagnetic material, making a radiographer’s life just a little easier. The 1″ diameter ball is housed in a urethane outer layer that provides separation just off the material being radiographed. The ball can be used as a reference for measuring pipe wall.

The reference balls are available in two options: the cube-shaped magnetic reference ball with a guaranteed tolerance of +/-.0025″ or the rectangular-shaped precision reference ball with a guaranteed tolerance of +/-0.0001”. The precision reference ball contains a non-precision earth magnet next to the carbon steel ball and has a unique, lead serial number molded into the urethane.  Both come with a certificate of conformance.

Description

Instructions for Use

Divide the actual ball diameter or the length of the optical comparator by the measured apparent length of the comparator on the film. Multiply this answer by the pipe wall thickness as measured on the image media.

Actual Pipe Wall = (Actual Ball Diameter ÷ Ball Diameter on Film) x Wall Thickness on Film

For accurate measurement, the ball must be put as close as possible to the exact side of the pipe parallel to the image media so that the enlargement of the pipe wall is the same as that of the ball.

If the comparator or ball is not touching the pipe because of insulation, aim the source at the center of the space between the two. This will help ensure an equal amount of enlargement to the ball and the pipe wall. (Think of how the source side of an elliptical 2” weld is distorted more than the film side.)

Additional information

Weight 1 lbs
Dimensions 4.5 × 2 × 4.5 in
Size

+/-0.0001, +/-0.0025